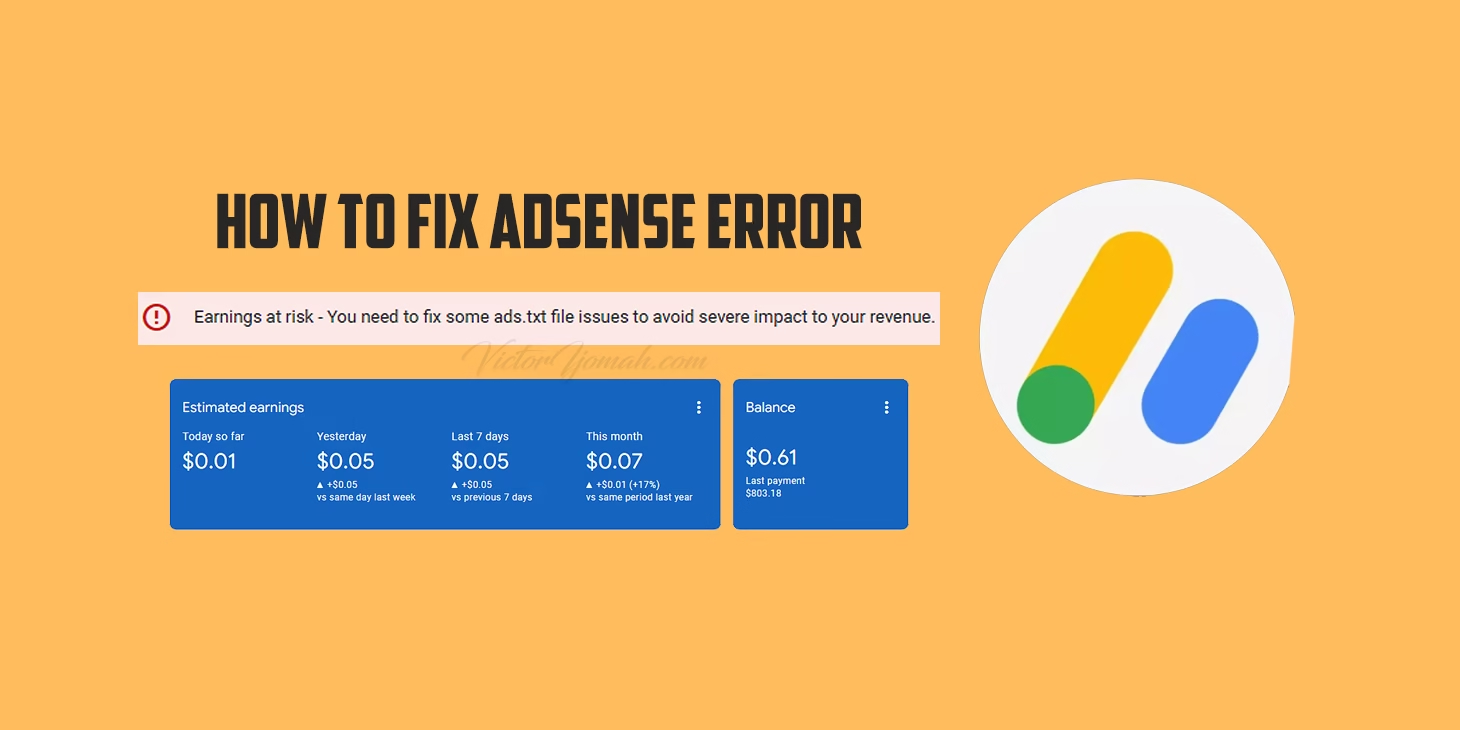
If you’ve logged into your Google AdSense account only to be greeted with the alarming message “Earnings at risk – You need to fix some ads.txt file issues to avoid severe impact to your revenue,” don’t panic! This error might look scary, but it’s actually quite simple to fix.
The ads.txt file is basically a text file that tells ad networks (like Google) which companies are allowed to sell ads on your website. Think of it as a guest list for a party at your website – only those on the list get to sell ad space. Without this file, or if it has errors, Google gets worried that unauthorized companies might be selling ads on your site, which could hurt your earnings.
The good news? Creating and uploading an ads.txt file is straightforward, even if you’re not tech-savvy. In this guide, I’ll walk you through multiple easy methods to fix this issue and get your AdSense account back to normal. Whether you use WordPress, have access to cPanel, or prefer using FTP, I’ve got you covered with simple step-by-step instructions.
Let’s turn that warning message into a thing of the past and protect your ad revenue!
Before You Begin
Before diving into fixing your ads.txt file issue, let’s make sure you have everything you need. Having these items ready will make the process much smoother and faster:
1. Your Google AdSense Publisher ID
Your Publisher ID is the unique code that identifies you in the AdSense system. Think of it as your digital fingerprint in the advertising world. Google uses this ID to track which ads appear on your site and, more importantly, who should get paid for those ads. Without the correct Publisher ID in your ads.txt file, Google might not recognize your site as authorized to display their ads.
This identifier always starts with “pub-” followed by a series of numbers (like “pub-1234567890123456”). You can easily find it in your AdSense account under Account → Account information.
google.com, pub-1234567890123456, DIRECT, f08c47fec0942fa0If you have multiple AdSense accounts, make sure you’re grabbing the ID from the account connected to the site showing the error.
2. The Correct ads.txt Content

The ads.txt file needs specific formatting to work properly. Even a small typo can cause the verification to fail. Rather than trying to write it yourself, it’s much safer to get the exact content directly from Google.
When you log into your AdSense account and go to the “Sites” section, look for warnings about ads.txt issues. Google will provide a “Fix Now” option that shows you the precise text to use. This typically includes your publisher ID, relationship type (usually “DIRECT”), and a certification authority ID. Copy this text exactly as shown, even extra spaces or missing commas can cause problems.
3. Access to Your Website
Depending on your technical comfort level, you’ll need different types of access to your website to implement the fix. This might include your hosting account credentials, FTP login details, WordPress admin access, or simply the contact information for your hosting provider’s support team.
If you’re not sure what access you have, check your emails from when you first set up your website. Hosting companies typically send login information when you first purchase their services. If you can’t find this information, most hosting providers offer account recovery options through their websites.
4. A Few Minutes of Uninterrupted Time
While fixing the ads.txt issue isn’t complicated, it’s best to set aside a little quiet time to complete the task without interruptions. Most methods take less than 10 minutes from start to finish, but having a calm environment helps ensure you don’t miss any steps.
Consider this a small investment of time that protects your advertising revenue. Once fixed, you typically won’t need to touch your ads.txt file again unless you change ad networks or add new advertising partners.
5. A Basic Understanding of Your Website Setup
Knowing a few basics about how your website is built and hosted will help you choose the right method for fixing your ads.txt file. Different website platforms and hosting setups require slightly different approaches.
If you’re using WordPress, you might prefer the plugin method. If you have cPanel access to your hosting, that option might be easiest. Don’t worry if you’re not sure, I’ll explain each method clearly so you can decide which one matches your setup. When in doubt, the “ask your hosting provider” method works for almost everyone!
With these basics covered, you’re ready to choose the method that works best for your situation and skill level. Don’t worry if some of this sounds unfamiliar, each method is explained in beginner-friendly steps!
Method 1: Uploading via cPanel or Hosting Dashboard
If you have access to your website’s hosting control panel (like cPanel), this method is one of the easiest ways to fix your ads.txt file. Most hosting providers offer cPanel or a similar dashboard, making this approach perfect for beginners.
Step 1: Log into Your Hosting Control Panel
- Go to your hosting provider’s website
- Log in to your account dashboard
- Look for “cPanel” or “Website/Hosting Management”
- Enter your hosting control panel credentials if prompted
Step 2: Find the File Manager
- Once in cPanel, look for “File Manager” (usually under “Files” section)
- Click to open the File Manager
- Make sure you’re in the “public_html,” “www,” or “httpdocs” folder (this is your website’s root directory)
Step 3: Create or Upload the ads.txt File
Option A: Create the file directly
- Click on the “New File” or “+” button (usually at the top of the File Manager)
- Name your file exactly “ads.txt” (all lowercase, no spaces)
- Click “Create” or “Save”
- Find your new ads.txt file in the list and right-click on it
- Select “Edit” from the menu
- Paste the content you copied from AdSense
- Click “Save Changes” or “Save & Close”
Option B: Upload an existing file
- If you’ve already created an ads.txt file on your computer, click the “Upload” button in cPanel
- Click “Select File” and browse to find your ads.txt file
- Select the file and click “Open”
- Wait for the upload to complete (usually takes just seconds)
Step 4: Verify the File is in the Right Location
- Check that your ads.txt file appears in the root directory (public_html)
- Make sure the file name is exactly “ads.txt” with no additional extensions
That’s it! Your ads.txt file is now properly placed in your website’s root directory. Google typically recognizes the change within 24-48 hours, and the warning message should disappear from your AdSense dashboard.
Method 2: Using FTP Software
If you’re comfortable with a slightly more technical approach or your hosting doesn’t provide cPanel access, FTP (File Transfer Protocol) is a reliable way to upload your ads.txt file. This method gives you direct access to your website’s files, making it a powerful solution.
Step 1: Download and Install an FTP Client
If you don’t already have an FTP program installed on your computer, you’ll need to download one. FileZilla is a popular free option that works on Windows, Mac, and Linux:
- Go to the FileZilla website (filezilla-project.org)
- Download the version that matches your operating system
- Run the installer and follow the on-screen instructions
- Launch the program once installation is complete
Step 2: Create Your ads.txt File on Your Computer
- Open a text editor on your computer (like Notepad on Windows or TextEdit on Mac)
- Paste the ads.txt content you copied from your AdSense account
- Save the file as “ads.txt” on your desktop or somewhere easy to find
- Make sure the file doesn’t have a hidden extension (like .txt.txt)
Step 3: Connect to Your Website via FTP
- Open your FTP client (FileZilla or similar)
- Enter your FTP credentials:
- Host: usually ftp.yourdomain.com or your server IP address
- Username: your FTP username
- Password: your FTP password
- Port: usually 21 (often filled automatically)
- Click “Connect” or “Quickconnect”
Step 4: Navigate to Your Website’s Root Directory
- Once connected, the right side of the screen shows your website files
- Navigate to your website’s root directory (often called “public_html,” “www,” “httpdocs,” or simply “/”)
- This is where your website’s main files are stored, like index.html or index.php
Step 5: Upload Your ads.txt File
- On the left side of the screen, find your locally saved ads.txt file
- Drag it from the left pane to the right pane to upload it
- If an existing ads.txt file is already there, you may be asked if you want to overwrite it (select “Yes”)
- Wait for the transfer to complete (usually takes just seconds)
Step 6: Verify the Upload
- Check that your ads.txt file appears in the root directory listing
- If you want to be extra sure, you can visit yourdomain.com/ads.txt in your web browser to see if the file is accessible
With this method complete, Google will be able to find and read your ads.txt file. The AdSense warning should disappear within a day or two as Google’s systems verify the file is correctly in place.
Method 3: Using WordPress Plugin
If your website runs on WordPress, this is likely the easiest method for you. WordPress plugins can automate the process of creating and maintaining your ads.txt file without requiring any technical knowledge.
Step 1: Log in to Your WordPress Dashboard
- Go to your WordPress login page (usually yourdomain.com/wp-admin)
- Enter your username and password
- Click “Log In”
Step 2: Install an Ads.txt Plugin
- In your WordPress dashboard, hover over “Plugins” in the left sidebar
- Click on “Add New”
- In the search bar, type “ads.txt”
- Look for a plugin with good ratings and recent updates like “Ads.txt Manager” or “Simple Ads.txt”
- Click “Install Now” next to your chosen plugin
- After installation completes, click “Activate”
Step 3: Configure the Plugin
- Find the newly installed plugin in your WordPress dashboard
- It may appear in the left sidebar, under Settings, or as a new menu item
- Open the plugin’s settings page
- You’ll typically see a text field where you can paste your ads.txt content
- Paste the content you copied from your AdSense account
- Save your changes (usually by clicking a button labeled “Save” or “Update”)
Step 4: Verify the Plugin Created Your ads.txt File
- Visit yourdomain.com/ads.txt in your web browser
- You should see your ads.txt content displayed
- If you don’t see it, go back to the plugin settings and check for any error messages
Step 5: Keep the Plugin Updated
- Make a note to keep this plugin updated along with your other WordPress plugins
- If you ever add more ad networks, you can easily update your ads.txt file through the plugin
Using a WordPress plugin is not only the easiest method for WordPress users, but it also helps you maintain your ads.txt file over time. If you switch ad networks or add new ones in the future, you can simply update the plugin settings rather than repeating the manual file creation process.
Once the plugin has created your ads.txt file, Google should recognize it within 24-48 hours, and the AdSense warning should disappear from your dashboard.
Method 4: Asking Web Hosting Provider for Help
If you’re not comfortable with technical solutions or you’ve tried the other methods without success, reaching out to your web hosting provider is a reliable fallback option. Most hosting companies offer customer support that can help with basic website tasks like adding an ads.txt file.
Step 1: Prepare Your Information
- Make sure you have your ads.txt content ready (the text from your AdSense account)
- Find your hosting account information (account number or username)
- Have your website domain name handy
- Be prepared to verify your identity as the website owner
Step 2: Contact Your Hosting Provider’s Support Team
- Go to your hosting provider’s website
- Look for “Support,” “Help,” or “Contact Us” links
- Choose your preferred contact method:
- Live chat (usually fastest)
- Phone support
- Email/ticket system
- Support forum
Step 3: Explain Your Request Clearly
- Tell the support agent you need help adding an ads.txt file to your website’s root directory
- Explain that this is for Google AdSense verification
- Be specific about what you need: “I need to add an ads.txt file to my root directory with specific content for Google AdSense”
Step 4: Share Your ads.txt Content
- When asked, provide the exact text that needs to go in your ads.txt file
- Double-check that you’re sending the correct content for your AdSense account
- Make it clear that the file needs to be named exactly “ads.txt” and placed in the root directory
Step 5: Verify the Work
- Ask the support agent to confirm when the task is complete
- Request the URL where you can check your ads.txt file (typically yourdomain.com/ads.txt)
- Visit that URL to verify the content is correct
Step 6: Thank Your Support Agent
- Once the issue is resolved, thank the support agent for their help
- Ask if there’s anything else you should know about maintaining this file
This method is particularly helpful for beginners or if your hosting setup has special requirements. Most hosting companies include this type of assistance as part of their support services, so don’t hesitate to ask for help.
After your hosting provider adds the ads.txt file, Google should detect it within 24-48 hours and remove the warning message from your AdSense account.
Method 5: Using Website Builders’ File Management Systems
If you built your site using a website builder like Wix, Squarespace, Shopify, or similar platforms, you’ll need to use their specific tools to add your ads.txt file. Each platform has its own approach, but the process is generally straightforward.
Step 1: Log in to Your Website Builder Dashboard
- Go to your website builder’s login page
- Enter your username and password
- Access your website’s management dashboard
Step 2: Find the Appropriate Settings Section
For Wix:
- Click on “Settings” in your dashboard
- Look for “SEO” or “Advanced” settings
- Find the “ads.txt” section
For Squarespace:
- Go to “Settings” in your dashboard
- Look for “Advanced” settings
- Find “Code Injection” or “Custom Files”
For Shopify:
- Go to “Online Store” in your admin panel
- Click on “Themes”
- Find “Actions” and then “Edit code”
For Other Platforms:
- Search for “ads.txt” in the platform’s help center
- Look in SEO settings, advanced settings, or file management areas
Step 3: Add Your ads.txt Content
- Locate the specific area for adding custom files or ads.txt content
- Paste the ads.txt content you copied from your AdSense account
- Make sure there are no extra spaces or formatting issues
- Save your changes
Step 4: Verify the Platform Created Your ads.txt File
- Wait a few minutes for the changes to take effect
- Visit yourdomain.com/ads.txt in your web browser
- Confirm that your ads.txt content appears correctly
Step 5: Check Platform-Specific Requirements
- Some website builders have additional steps or verification processes
- Follow any additional instructions provided by the platform
- Check if the platform offers any validation tools for your ads.txt file
Website builders typically make this process user-friendly, though the exact steps vary by platform. If you can’t find the ads.txt options, most website builders offer help articles specifically about adding ads.txt files – just search for “ads.txt” in their help center.
After adding your ads.txt file through your website builder, Google should detect it within 24-48 hours, and the warning message in your AdSense account should disappear.
Method 6: Using SSH/Terminal (Command Line)
If you’re more technically inclined or have command-line access to your server, using SSH (Secure Shell) is an efficient way to create your ads.txt file. This method is particularly useful for developers or those with VPS/dedicated hosting.
Step 1: Connect to Your Server via SSH
- Open your terminal application
- On Windows: Use PuTTY, Windows Terminal, or WSL
- On Mac/Linux: Use the built-in Terminal app
- Enter your SSH connection command:
ssh username@your-server-ip-or-domain- Enter your password when prompted
- You should now be connected to your server’s command line
Step 2: Navigate to Your Website’s Root Directory
- Use the
cdcommand to navigate to your website’s root directory:
cd /var/www/html- (Note: The exact path might differ based on your server setup. Common alternatives include
/var/www/yourdomain.com/public_htmlor/home/username/public_html) - Confirm you’re in the right directory with the
pwdcommand
Step 3: Create the ads.txt File
- Use a command-line text editor like nano to create the file:
nano ads.txt- Paste your AdSense ads.txt content into the editor
- In nano, press Ctrl+O to save the file, then Enter to confirm
- Press Ctrl+X to exit the editor
Step 4: Set Proper Permissions
- Make sure the file has the correct permissions so it’s readable by web visitors:
chmod 644 ads.txt- Verify the file exists and has correct permissions:
ls -la ads.txtStep 5: Verify the File is Accessible
- After creating the file, check that it’s accessible via your website by visiting:
yourdomain.com/ads.txt- You should see your ads.txt content displayed in your browser
This method gives you direct control over your server files and can be the fastest way to implement the fix if you’re already familiar with command-line operations. It’s particularly useful for advanced users who manage their own servers.
After creating the ads.txt file via SSH, Google should detect it within 24-48 hours and remove the warning message from your AdSense account.
FAQs on Google Adsense Error
How long will it take for the AdSense warning to disappear?
What if I already have an ads.txt file?
Can I have multiple publishers in my ads.txt file?
What does the ads.txt content actually mean?
domain.com, publisher-id, RELATIONSHIP, tag-id
- domain.com: The domain of the advertising system (like google.com)
- publisher-id: Your unique ID with that system (like pub-1234567890123456)
- RELATIONSHIP: Usually "DIRECT" or "RESELLER"
- tag-id: A certification authority ID
What if my website is on a subdomain?
Will ads.txt affect my website’s performance?
What happens if I ignore the ads.txt warning?
Do I need to update my ads.txt file regularly?
What if none of these methods work for me?
Final Thoughts
Fixing the Google AdSense ads.txt error might seem intimidating at first, but as you’ve seen, there are multiple straightforward ways to resolve it. Whether you chose to upload the file through cPanel, FTP, a WordPress plugin, or with help from your hosting provider, the important thing is that you’ve taken steps to protect your advertising revenue.
Remember that the ads.txt file serves an important purpose in the online advertising ecosystem. It helps prevent unauthorized selling of your ad space and ensures that you receive the revenue you’ve earned. By implementing this simple text file, you’re not just fixing an error message – you’re protecting your website’s monetization strategy.
If you encounter any issues along the way, don’t hesitate to revisit the methods outlined in this guide. Sometimes it takes a second attempt or a different approach to get things working correctly. The effort is well worth it when you consider the potential revenue impact of having a properly configured ads.txt file.
Keep in mind that as the digital advertising landscape evolves, there may be other similar files or requirements in the future. The skills you’ve learned while fixing this issue will serve you well as you continue to grow and monetize your website.
Have you successfully implemented your ads.txt file? Did one method work better than others for your particular setup? Feel free to share your experience in the comments below – your insights might help other readers facing similar challenges!
Disclosure: My content is reader-supported. If you click certain links, I may earn a commission at no extra cost to you. Your support helps keep my blog running. Learn more about my funding and editorial process.


